
From white to transparent
Remove the white background. Keep the subject.
Remove a white background from your image and export a transparent PNG. Inspect light details and refine the cutout with erase and restore brushes.
JPG, PNG, WebP or BMP · Up to 3 MB each
Free online · No sign-up · No watermark
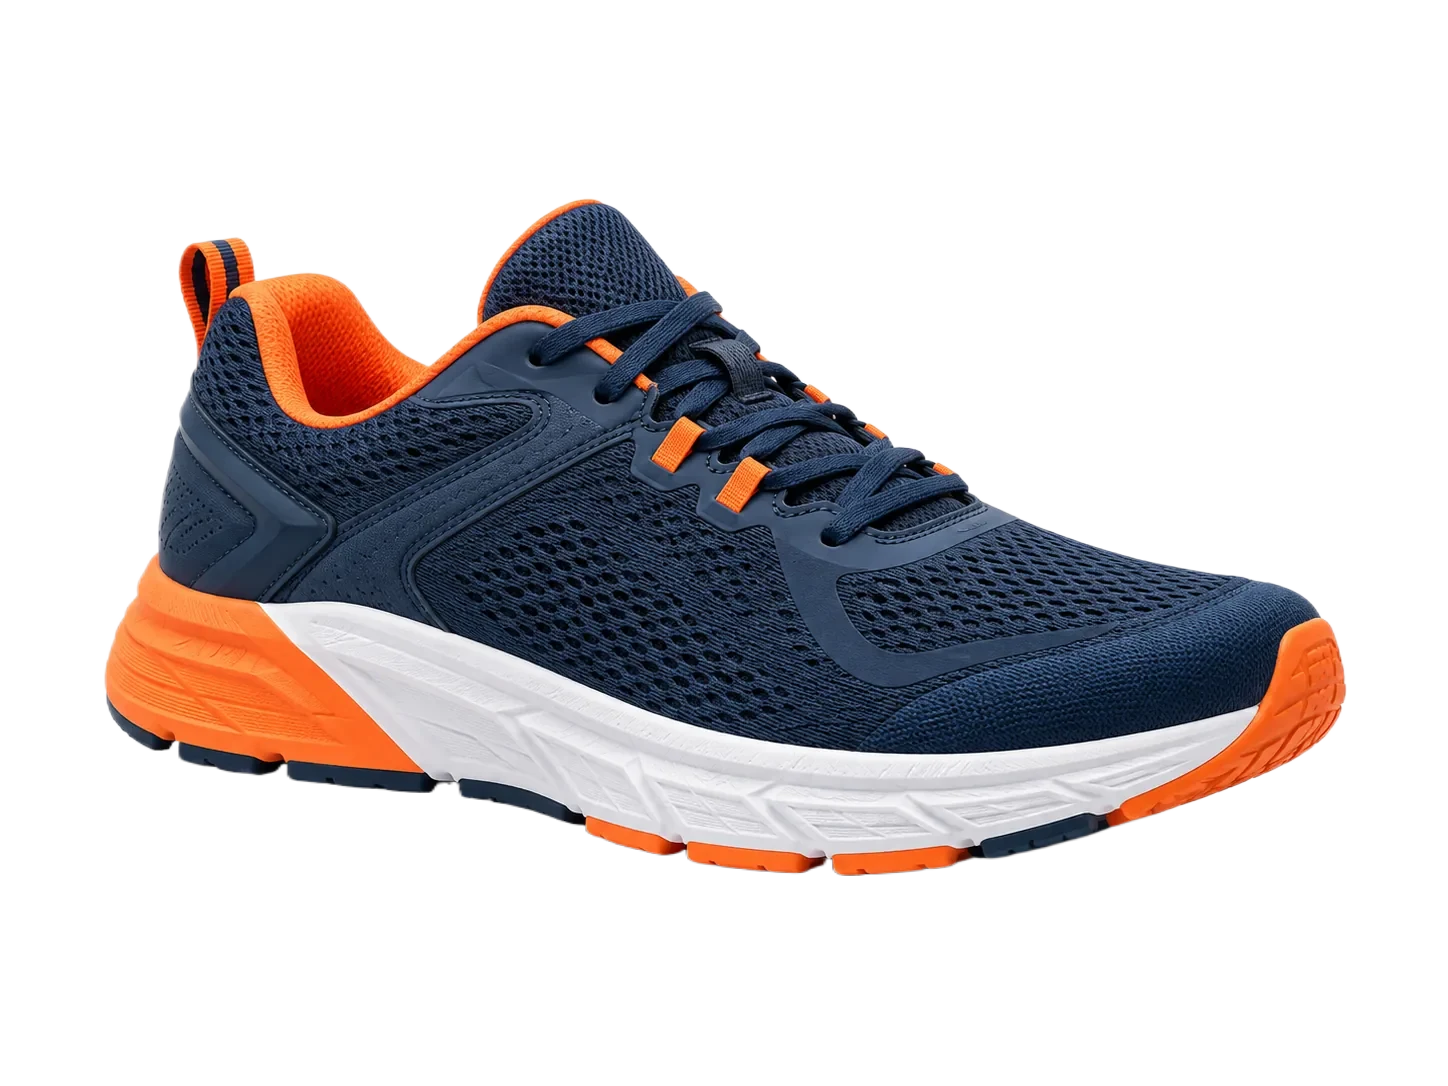
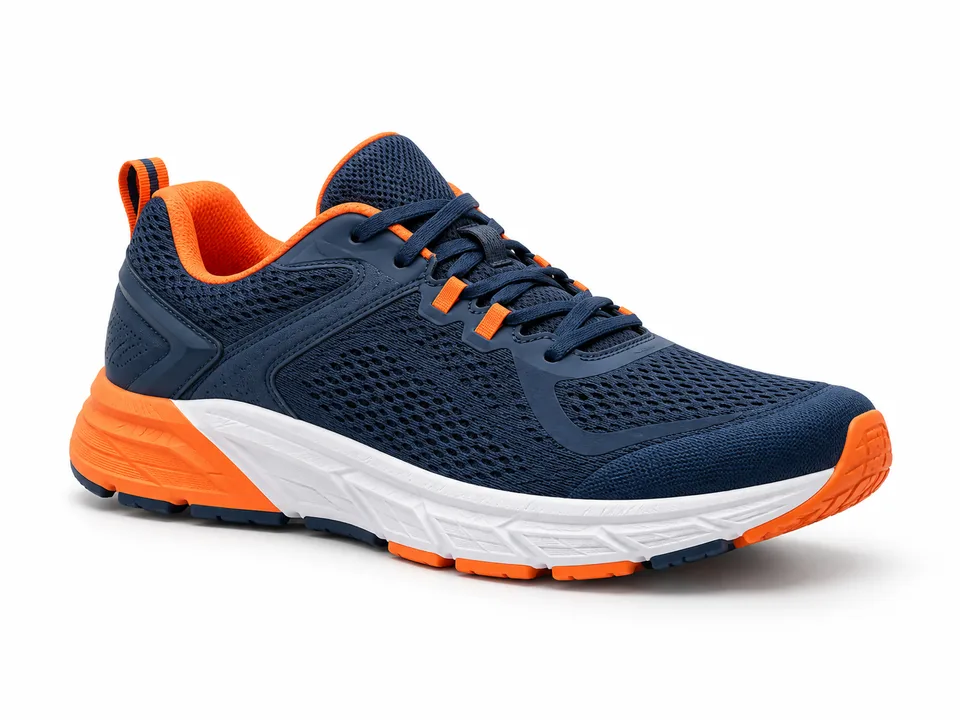
Subject segmentation is not a color-key filter. Always inspect pale objects and fine edges.
How it works
- 01
Upload the white-background image
- 02
Inspect pale details
- 03
Export a transparent PNG
Explore the details
White backdrop, colored subject
A white product photo can be useful on its own, but a transparent cutout is easier to reuse on a colored layout. Compare the original and the actual processed image, then check the edges against a contrasting surface.


What happens to a white object?
The model tries to identify the subject rather than delete every white pixel. Low contrast, reflections and handles can still produce missing or leftover areas. Use the mug example to inspect these limits instead of assuming all white details will be preserved.
Clean up the edge before export
Place the cutout on a dark preview surface. Erase leftover backdrop and restore missing subject details in the editor. Download the result with a transparent background, or choose the white-background maker if you meant to add white instead.
Questions, answered.
Does it remove white clothing?
The model aims to keep the subject, but low-contrast details may need manual restoration. Test your own photo before relying on the result.
Why is there a white halo?
The original backdrop may remain around soft or compressed edges. Zoom in and use erase and restore to refine the boundary.
Can I add a white background instead?
Yes. Use the white-background maker to remove the original backdrop and composite the subject on solid white.
Ready for your own image?
Free online · No sign-up · No watermark